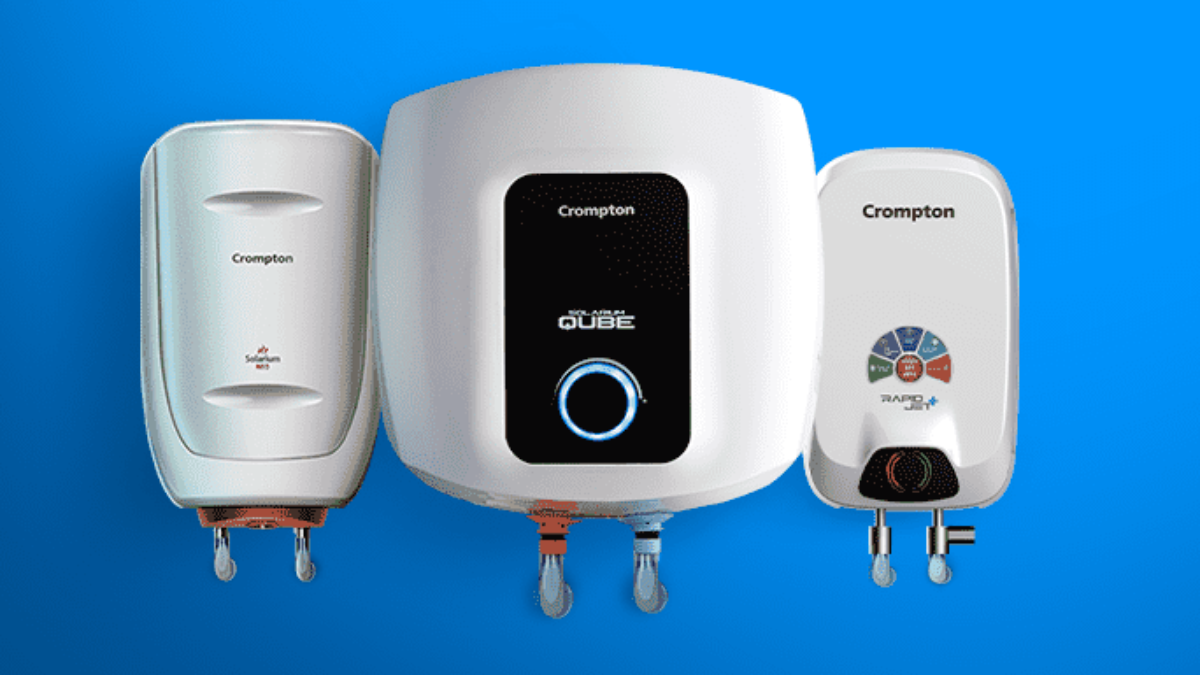
Welcome to Fixdar’s ultimate guide on how to clean a geyser for optimal performance and efficiency. A well-maintained geyser plays a vital role in providing hot water for various household needs. However, over time, sediment build-up, mineral deposits, and other impurities can hinder its performance, leading to reduced efficiency and potential breakdowns.
If you’re in Karachi and looking for Geyser Repair Or Service centers near you, this comprehensive guide will equip you with the knowledge and steps needed to clean your geyser effectively. By following the expert tips and techniques provided in this guide, you can ensure that your geyser operates at its best, delivering hot water when you need it the most.
Let’s dive in and discover how to keep your geyser in top-notch condition.
1. Understanding the Importance of Geyser Cleaning:
A geyser is an essential appliance in any household, providing hot water for bathing, cleaning, and other daily activities. However, over time, sediments, mineral deposits, and impurities can accumulate inside the geyser tank, compromising its performance and efficiency. Regular cleaning of your geyser is crucial to maintain its optimal functionality and extend its lifespan.

2. Gathering the Necessary Tools and Supplies:
Before you begin the geyser cleaning process, it’s important to gather the necessary tools and supplies. This will ensure that you have everything you need to effectively clean the geyser. Some common tools and supplies you’ll need include:
- Screwdriver
- Adjustable wrench
- Garden hose or bucket
- Cleaning brush or cloth
- Vinegar or descaling solution
- Anode rod (if replacement is required)
- Teflon tape (for resealing connections)

Having these tools and supplies ready will save you time and frustration during the cleaning process.
Step 1: Turning Off the Geyser and Ensuring Safety:
Before you start cleaning, it’s crucial to turn off the geyser and ensure your safety. Locate the circuit breaker or switch that controls the geyser’s power and turn it off. Additionally, it’s recommended to shut off the water supply to the geyser to prevent any accidental leaks or flooding.
Step 2: Draining the Geyser Tank:
To effectively clean the geyser, you’ll need to drain the tank of any existing water. Attach a garden hose to the drain valve located at the bottom of the geyser tank. Direct the other end of the hose towards a drain or bucket to collect the water. Open the drain valve and allow the water to flow out completely. Once the tank is empty, close the valve.
Step 3: Removing Sediment Build-up from the Tank:
Sediment build-up is a common issue in geyser tanks, caused by minerals and impurities present in the water supply. This build-up can affect the heating efficiency of the geyser and lead to potential damage. To remove the sediment, you can use a cleaning brush or cloth to scrub the inside of the tank gently. Be careful not to damage any components while cleaning.
Step 4: Cleaning the Heating Element:
The heating element of the geyser is responsible for heating the water. Over time, it can accumulate mineral deposits, affecting its performance. To clean the heating element, you can soak it in vinegar or a descaling solution for a few hours. This will help dissolve the mineral deposits and restore its efficiency. After soaking, rinse the element thoroughly with clean water before reattaching it to the geyser.
Step 5: Inspecting and Replacing the Anode Rod:
The anode rod is an important component that helps prevent corrosion inside the geyser tank. Over time, it can become corroded and ineffective. Inspect the anode rod for any signs of corrosion or deterioration. If it appears damaged, it’s recommended to replace it with a new one. This will ensure that your geyser remains protected from rust and extends its lifespan.
Step 6: Flushing and Cleaning the Pipes:
In addition to cleaning the geyser tank, it’s important to flush and clean the pipes connected to the geyser. Sediment and debris can accumulate in the pipes, affecting water flow and quality. To flush the pipes, turn on the water supply to the geyser and let it run for a few minutes. This will help remove any remaining sediment or debris. Additionally, you can use a cleaning brush or cloth to wipe the exterior of the pipes and remove any dirt or grime.
If you’re in Karachi and in need of geyser repair or service, it’s advisable to seek assistance from a professional geyser service center. They have the expertise and knowledge to handle complex issues and provide the necessary repairs or maintenance.
For Geyser Repair Services In Karachi, Fixdar is your reliable partner. Whether you need geyser repair, installation, or maintenance, Fixdar’s team of experts is just a call away. They offer prompt and efficient services, ensuring that your geyser is in top-notch condition.


